Wisdom Teeth Removal: What to Expect Before, During, and After
Wisdom teeth removal is one of the most common procedures our clinical team performs, and knowing what each stage involves tends to make the experience calmer and the recovery smoother. This walkthrough covers the evaluation, the day itself, and the days that follow, with a focus on the small choices that lower the risk of complications.
Third molars, commonly called wisdom teeth, usually emerge in the late teens or early twenties. Sometimes they arrive without any trouble. More often they are angled, partially covered by gum tissue, or crowded against the neighboring molar, which can trap food and bacteria and lead to inflammation. When providers recommend removal, the goal is to address a problem that is already present or to prevent one that imaging suggests is likely.
The decision is not automatic. Some teeth are monitored for years rather than removed. The evaluation exists to weigh position, symptoms, and long-term risk against the practical realities of the procedure for each individual patient.
Before the procedure: evaluation and preparation
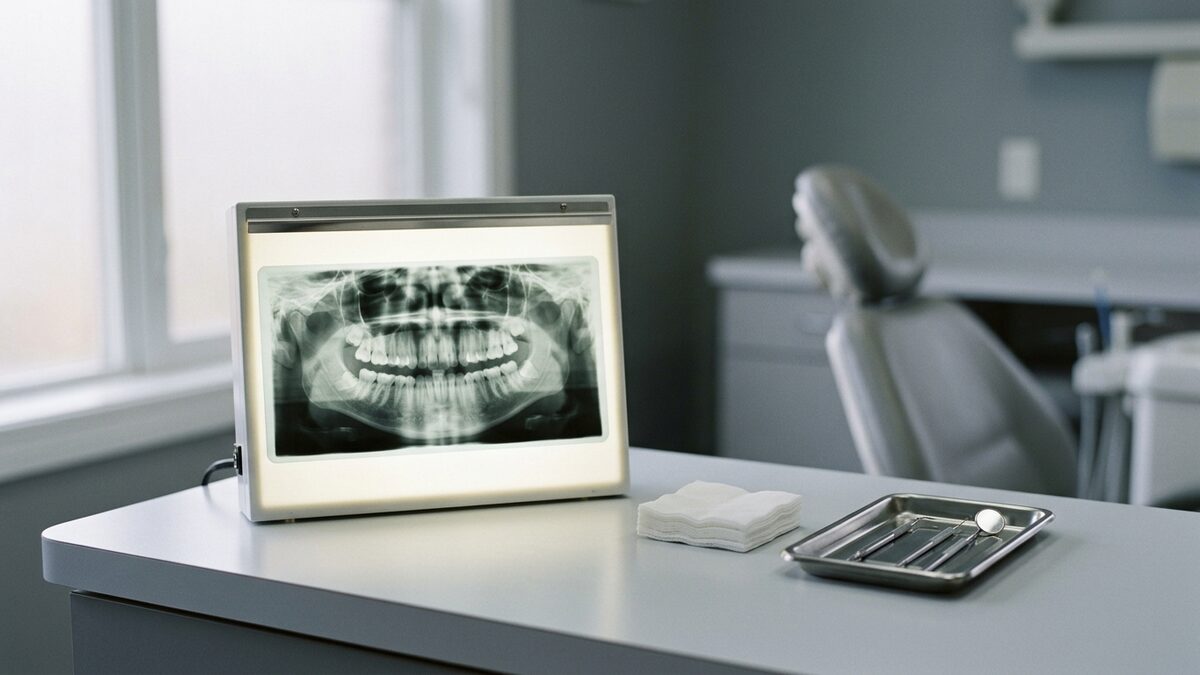
The first visit centers on a clinical exam and imaging, typically a panoramic X-ray or, in more complex cases, a three-dimensional scan. These images show how the roots sit relative to nearby nerves and the sinus floor, which shapes both the surgical approach and the conversation about risk. Patients who understand the position of their own teeth tend to ask better questions and feel more settled going in.
During this stage, share your full medical history, including any bleeding tendencies and every medication and supplement you take. Some agents, including certain anticoagulant and antiplatelet classes, affect bleeding and clotting, and your dentist and physician may coordinate on timing. Do not stop any prescribed medication on your own; that decision belongs with the provider who prescribed it.
Preparation also covers the sedation plan. Options range from local anesthetic alone to sedation, and the right choice depends on the number of teeth, their difficulty, and your comfort. If sedation is planned, you will receive fasting instructions and will need a responsible adult to drive you home. Arranging that ride in advance, along with soft foods and a quiet afternoon, removes friction from the day itself.
Patients who arrive rested, hydrated in line with their instructions, and with questions written down generally have a steadier experience. There is no benefit to arriving anxious and underinformed, so a short pre-op call to the office is always welcome.
During and after: the procedure and the recovery window
On the day of surgery, the area is thoroughly numbed and, if chosen, sedation is started. For a fully erupted tooth, removal can be quick. For an impacted tooth, the provider may need to open the gum tissue and remove a small amount of bone to reach it, sometimes sectioning the tooth so it can be lifted out in pieces. This is routine and is designed to protect surrounding structures. Most cases are completed in under an hour.
Immediately afterward, gauze is placed to help a protective clot form in the socket. That clot is the foundation of healing, so the first day is about protecting it. Providers generally advise against vigorous rinsing, spitting, drinking through a straw, and smoking, all of which can dislodge the clot and lead to a painful condition called dry socket. Keeping the area undisturbed is the single most useful thing you can do.
Swelling typically peaks around the second or third day and then eases. Cold compresses applied in intervals during the first day can help manage it. Discomfort is expected and is usually well controlled with the pain management plan your provider outlines, which may combine over-the-counter options with a prescribed medication when appropriate. Take what is recommended on the schedule given rather than waiting for discomfort to build.
Eat soft, cool foods at first and reintroduce a normal diet as comfort allows. Gentle salt-water rinses usually begin the day after surgery, not the day of. Keep the rest of your mouth clean, avoiding the surgical sites directly for the first day or two, then resuming careful brushing nearby. Most patients feel meaningfully better within three to five days, though full soft-tissue healing continues for a few weeks.
Certain signs warrant a call to the office rather than waiting. These include bleeding that does not slow with steady gauze pressure, a fever, increasing rather than decreasing pain after the third day, difficulty swallowing or breathing, or spreading swelling. Difficulty breathing is an emergency and should prompt immediate care. Reaching out early tends to keep a small issue small, and the clinical team would always rather hear from you sooner.
Recovery is rarely linear, and a mildly bumpy day within an otherwise improving week is common. What matters is the overall direction: less swelling, less discomfort, and a steady return to normal eating and activity over the first week.
This article is informational and is not medical advice. Treatment options should always be made in consultation with a qualified dentist or oral surgeon.